Today we’ll tell you how to carve the Halloween pumpkin
There is no symbol more iconic to Halloween than the jack-o’-lantern.
To help you make the pumpkin of your dreams, we bring a few carving tips that will keep your creepy creations looking and smelling good the entire trick-or-treat day.
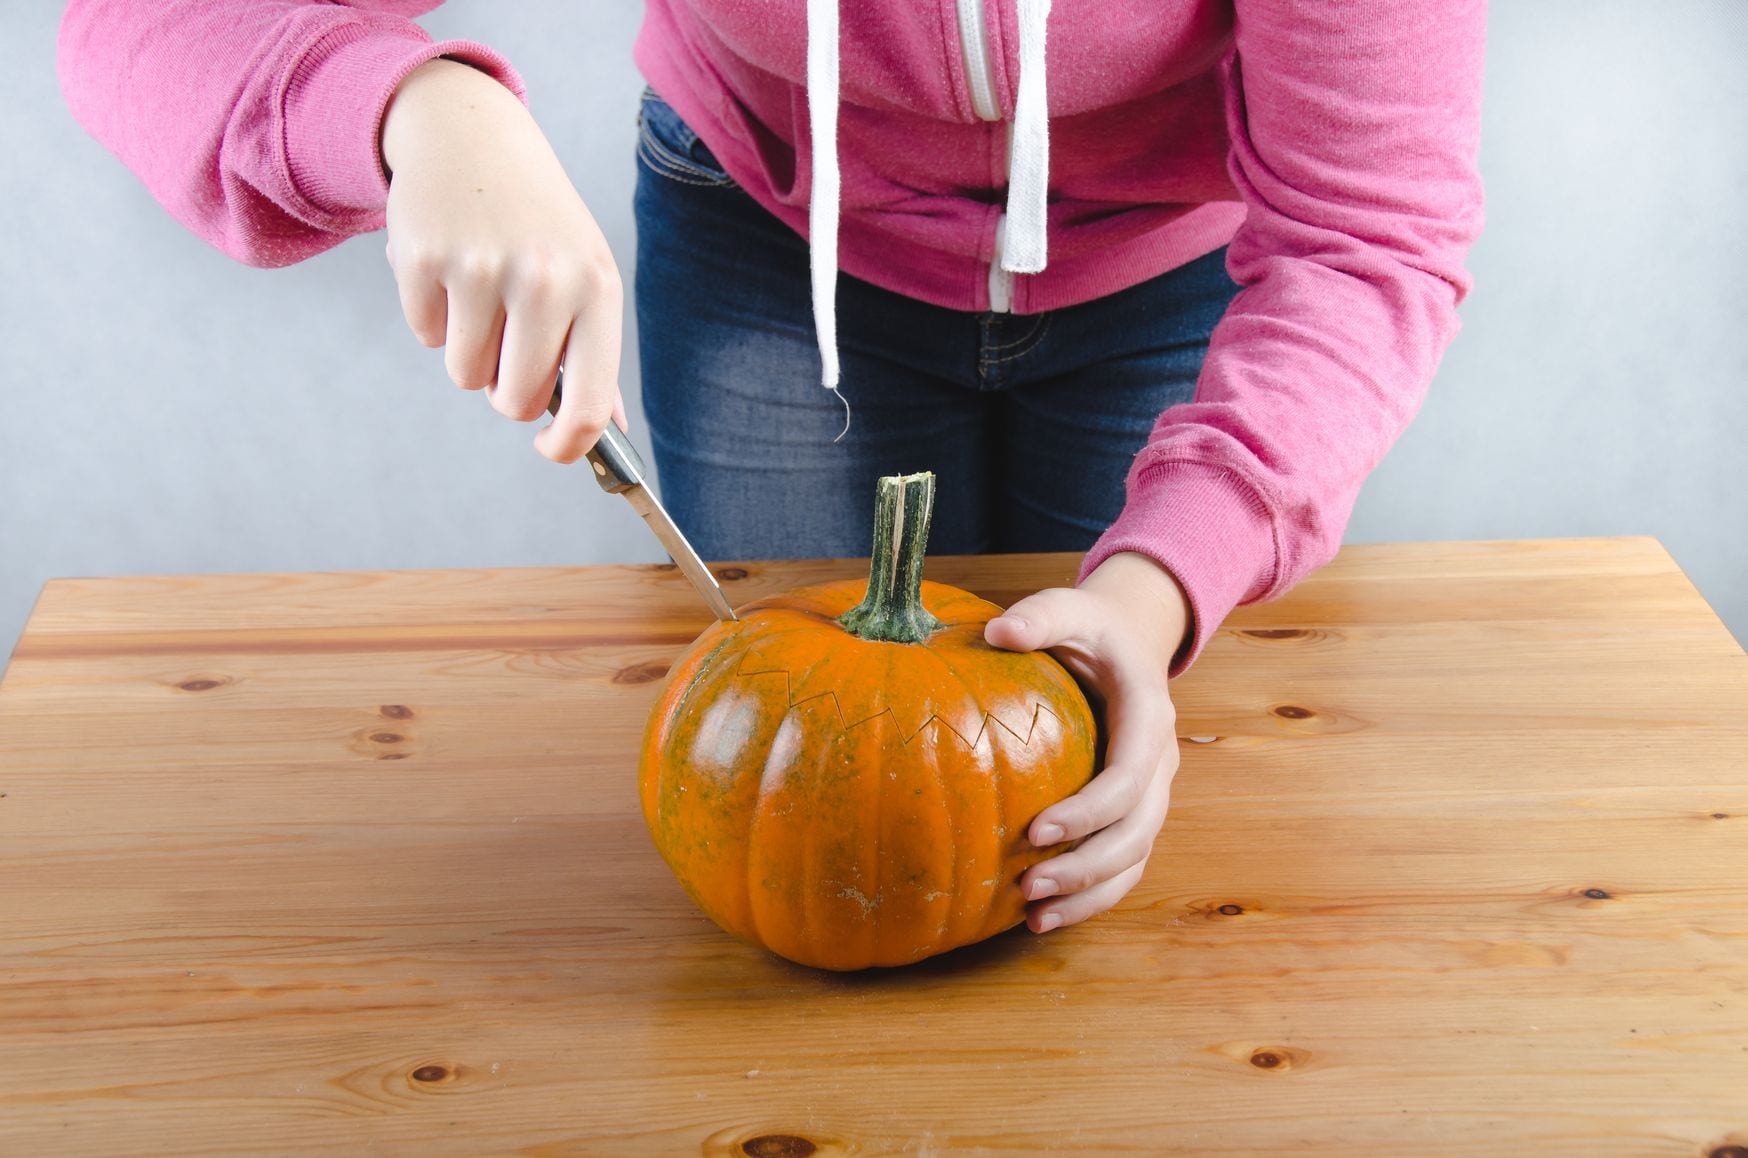
- Cut the top of the pumpkin with the help of the sharp knife. The opening should be large. This makes it easy to remove the pulp.

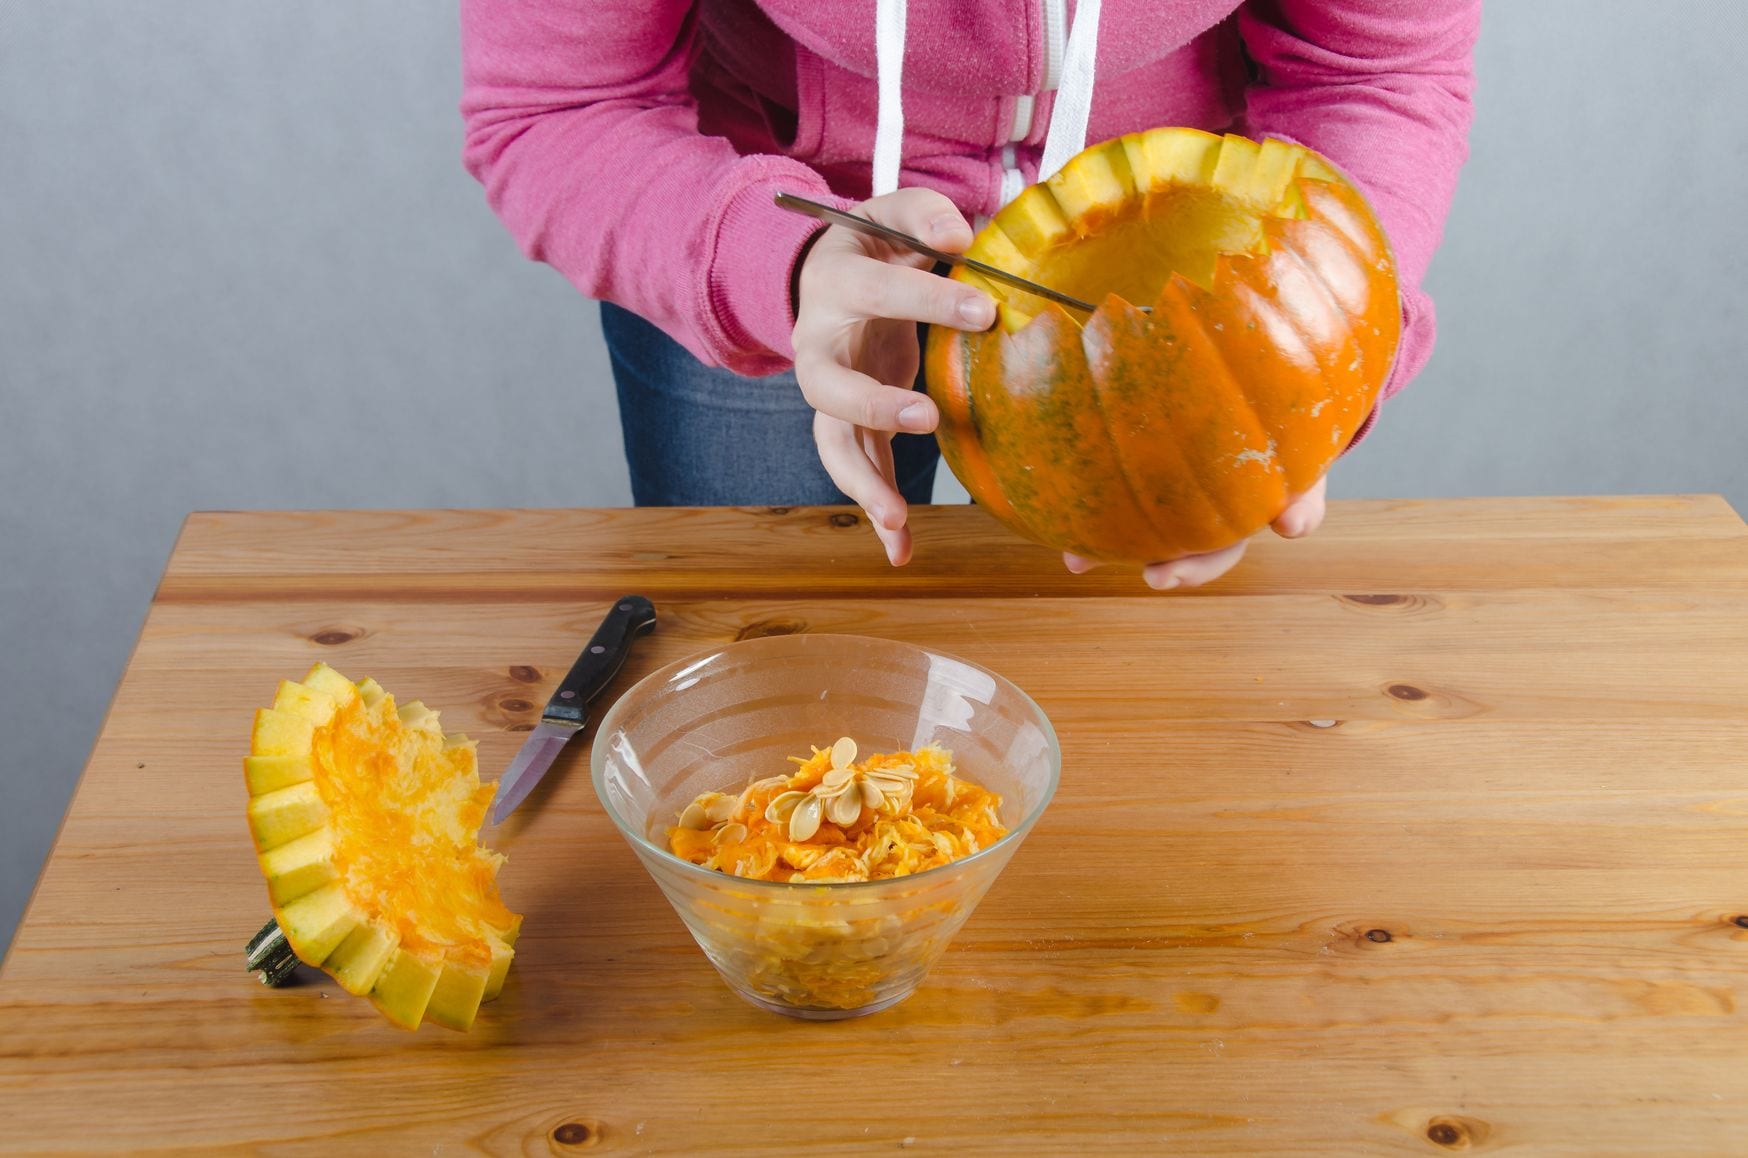
- Pull out the pulp and seeds. You can fry the latter and decorate dishes with them. The pulp is well suited for the cream-soups, pies, and deserts.

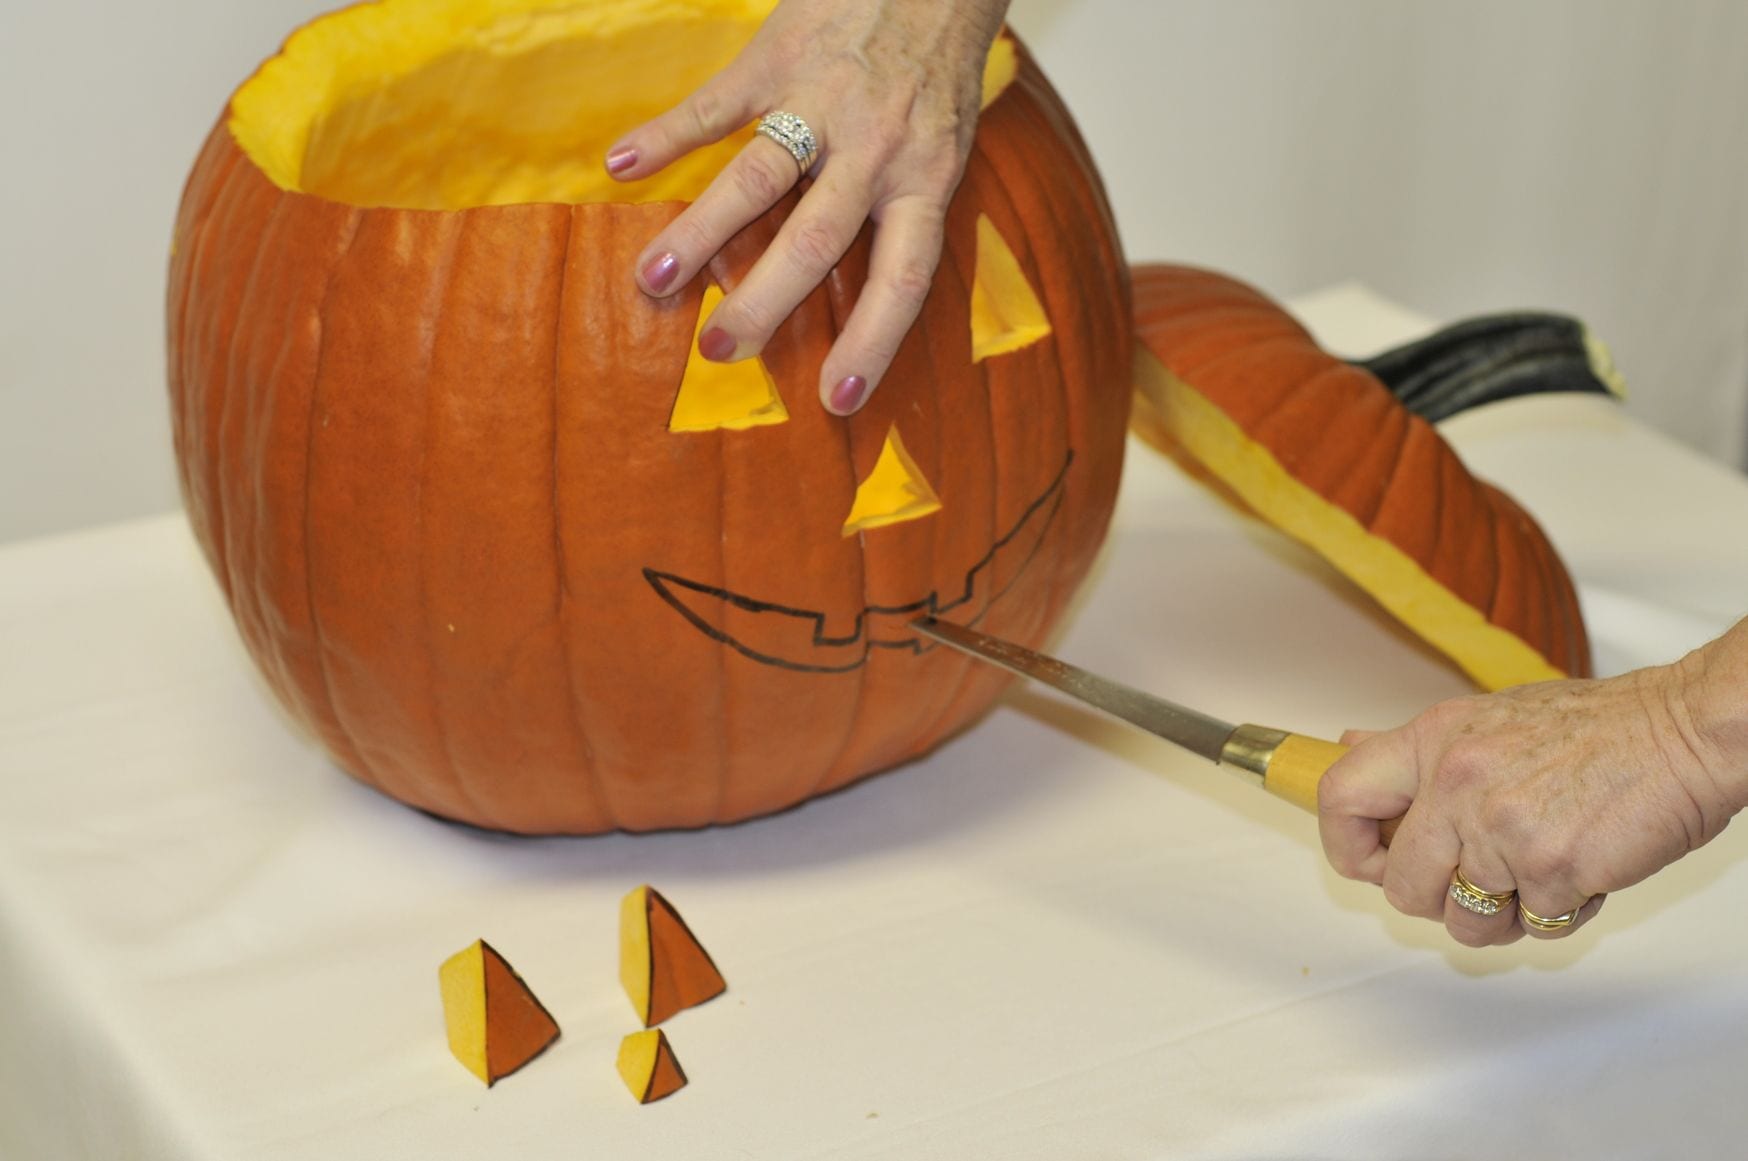
- Draw the contours of the eyes, nose, and mouth and cut out these parts of the pumpkin. Start in the middle and then move to the edges.

- Make the deepening in the bottom of the pumpkin. Place the candle and light it. Close the cover. Sprinkle cinnamon inside the lid, that way when you light the candle, your jack-o’-lantern will smell like a pumpkin pie. Yum!

Keep your pumpkin fresh.
We recommend spreading petroleum jelly on the cut edges to seal in moisture.
As you can see it’s very easy! You can carve the Halloween pumpkin with one’s own hands.
Attention! Follow the rules of fire safety. Don’t place the lantern nearby highly inflammable objects.
I hope you enjoyed this article! 🙂
[the_ad_placement id=”manual-placement”]
